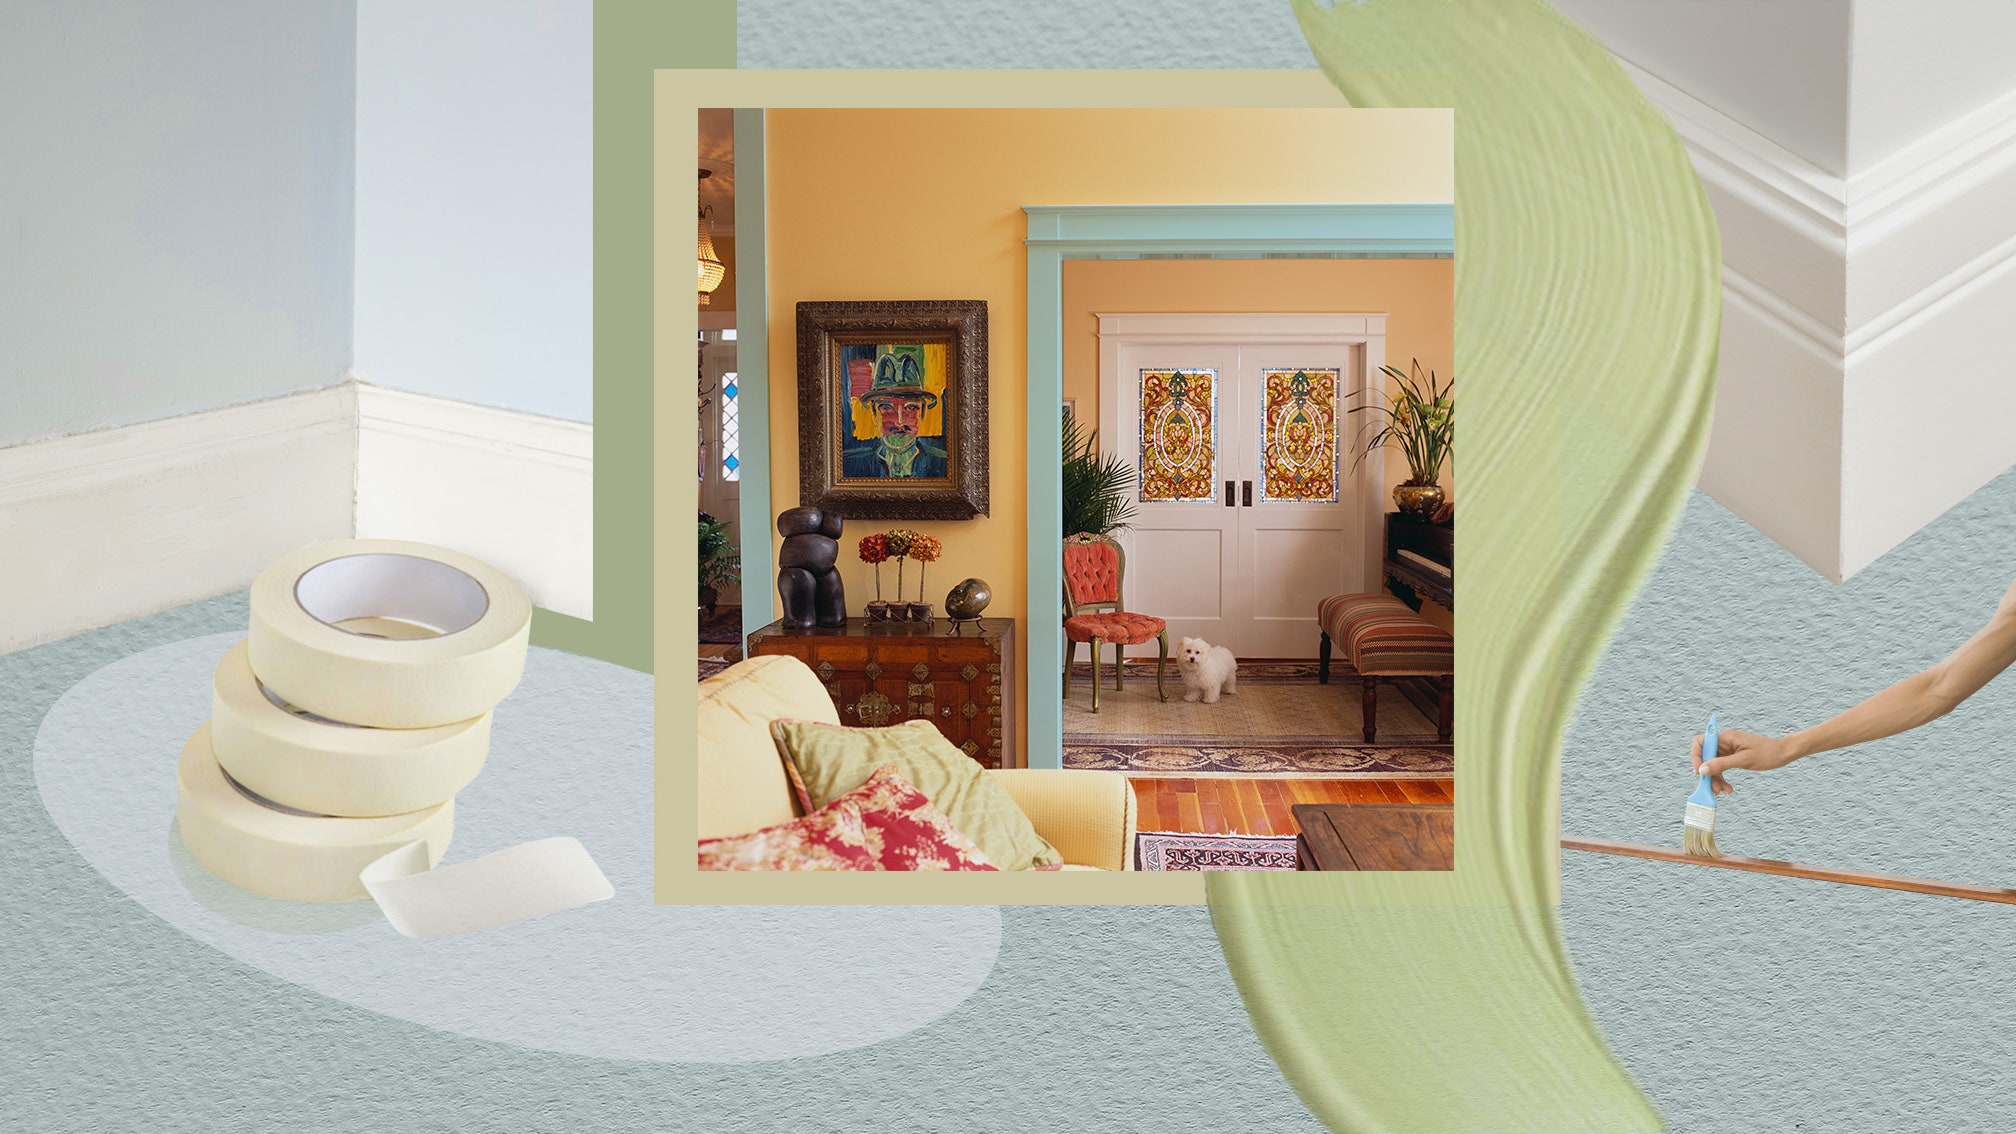
A home with beat-up trim is like an outfit with scuffed shoes—you can deal with it, but it looks sloppy. Painting the trim in your home—whether it’s wainscoting, chair rails, or crown molding—is a way to revamp a room without a major overhaul. “Trim is almost like the jewelry in a space,” says designer Kate Lester of Kate Lester Interiors in Hermosa Beach, California. To add real flair, think outside the classic white palette and explore how color plays with depth, elevating the entire space.
Painting trim is a simple process, albeit the difference between a facelift and a wow factor is in the details. We consulted design pros who share best tips on how to paint trim, from optimal paint finishes to helpful supplies that ensure this DIY project is streamlined.
Prep the trim
When it comes to painting trim, properly prepping the material is essential. “Caulking edges that are coming away [from the wall] and lightly sanding places that are peeling will make sure that you have a great finish,” explains Washington, D.C., designer Mary Jo Major of Rise Interiors. Details matter: Filling nail holes and smoothing out ragged corners and divots will also make the paint look “neat and crisp.” When the trim is ready to be painted, Major suggests investing in a 2 1/2-inch paint brush for the job.
Embrace color
Selecting a shade for one’s trim is a personal decision, but a vibrant palette is a trend du jour. “The traditional ideal of having a white wall with a brighter white trim is appropriate sometimes but not really where modern homes are going,” says designer Shaolin Low of Studio Shaolin in Honolulu. Lester anticipates that colored trim will have a major moment this summer. “Choosing a color for your windows and door trims will add interest and contrast, especially if you keep the walls white,” she says. Alternatively, pair a neutral trim color—such as gray—with a peppy turquoise wall color, as Richmond, Virginia, designer Janie Molster did in a recent condo project. “Paint is one of the most amazing design tools we have—it can truly transform a room,” Molster says on taking the plunge with non-white trim.
Think about sheen
In selecting trim paint, Low suggests choosing a sheen that is “one level above the wall.” For example, she says, a wall coated in flat paint should feature a satin trim, whereas eggshell walls look best paired with a semi-gloss trim. Lester is a major proponent of coating trim in semi-gloss paint. “It’s great for frequently cleaned, high-traffic rooms that deal with excess moisture,” she explains. Although glossy finish does add a touch of glamour, it can highlight imperfections, Lester notes.
Paint first, install later
For a new project, paint the trim before you adhere it to the wall—you’ll save yourself the headache of worrying about getting trim paint on the wall. Low recommends first priming the raw wood, then adding two coats of paint before installing. Once installed, touch up as necessary. For a painting project on the existing trim, place painter’s tape on the wall directly above the trim to ensure that paint doesn’t get transferred, and you can create a straight edge, Major explains.
Prime stained wood
If you’re painting stained wood trim—as opposed to painting over trim that was previously painted—Major encourages using a stain-blocking primer to keep wood knots from showing through the paint.
Paint with patience
A molding makeover is not an easy job, especially if it has intricate detail which may benefit from using small paint brushes to properly get into the crevices of the woodwork. “My biggest tip with physically painting trim is to be patient and don’t rush through it,” Lester says. “It is one of those areas in which you need to be very precise, which can take time.”
